
If not signed in, kindly sign in into FBO Master.
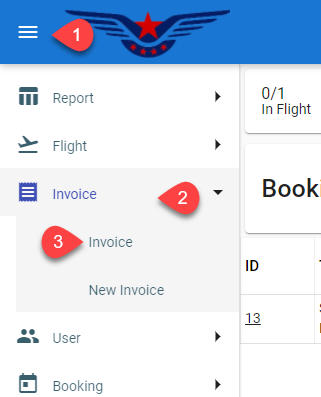
1. Click on the hamburger icon on the top left corner of the navigation bar[1]. Select the Invoice main menu[2]. Click on the Invoice sub main menu[3] (Invoice list will be displayed).
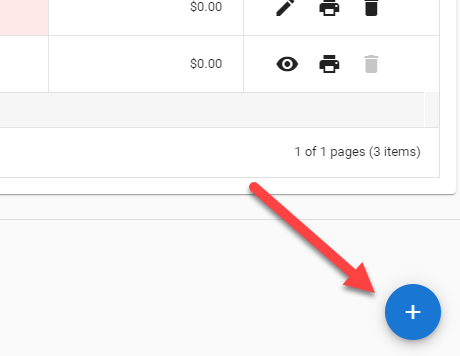
- Invoice List will be displayed on the screen. Click on the (+) button on the bottom right corner of the screen to create a new invoice.
OR
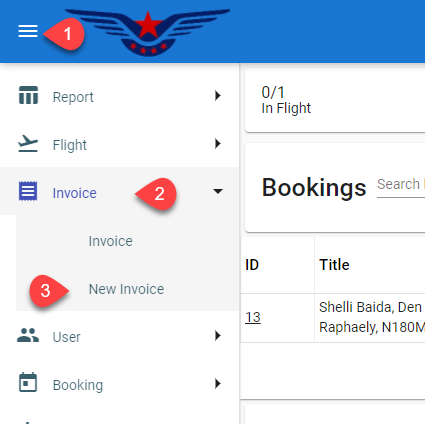
Click on the hamburger icon on the top left corner of the navigation bar[1]. Select the Invoice main menu[2]. Click on the New Invoice sub main menu[3].
- All the information will be auto selected/filled for once.
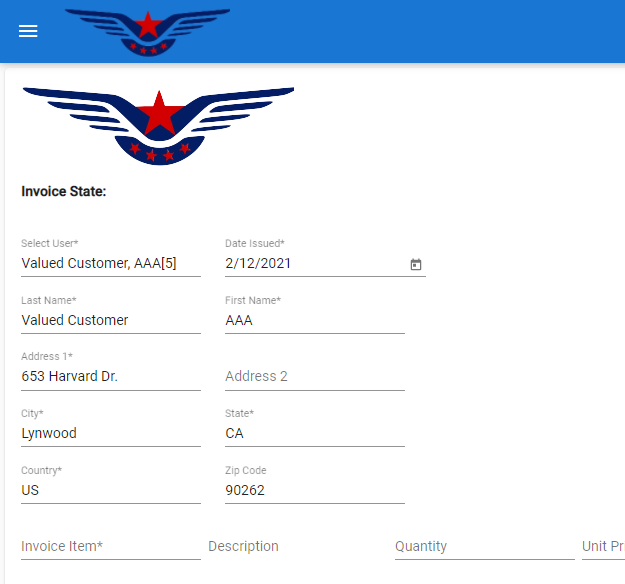
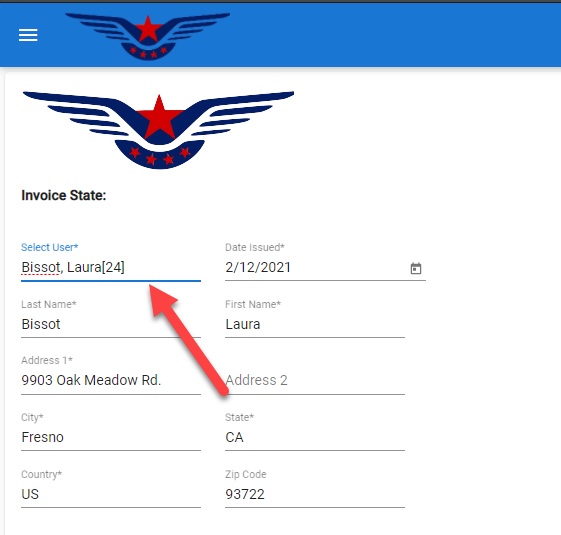
- Select a user from Select User drop down list. All the information will be auto selected and can be edited (fill all the mandatory fields).
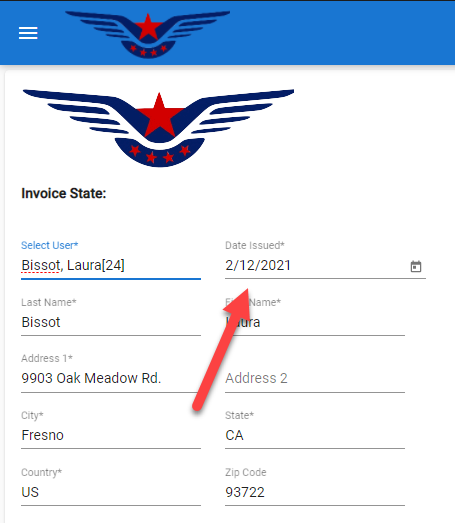
- Date issued is set to the current date and can be changed.
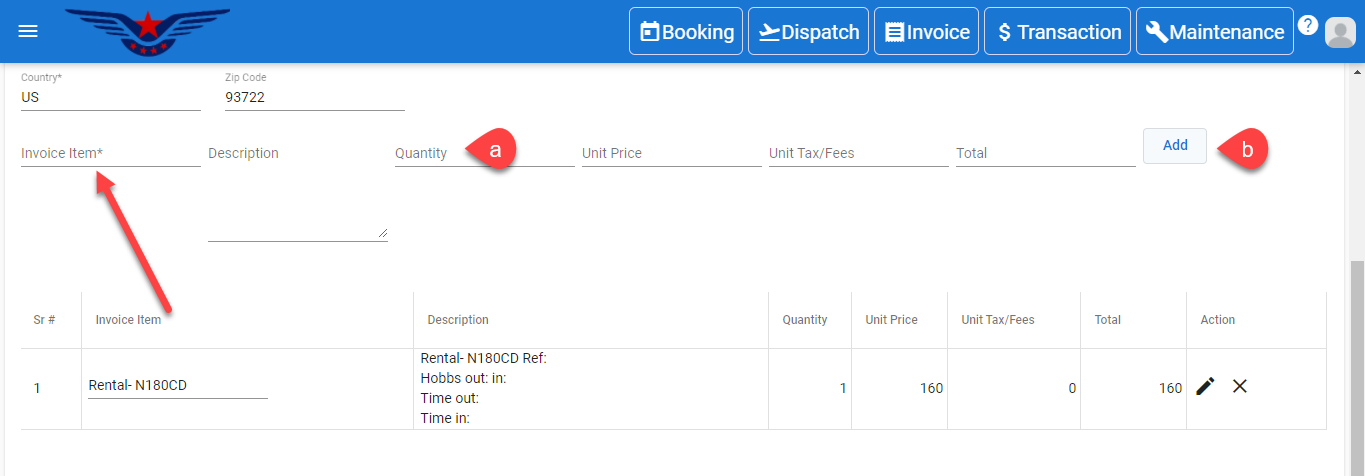
- Select invoice item from Invoice Item drop down list (invoice item is mandatory).
- Quantity of invoice items is 1 by default and can be changed.
- Click on the Add button.
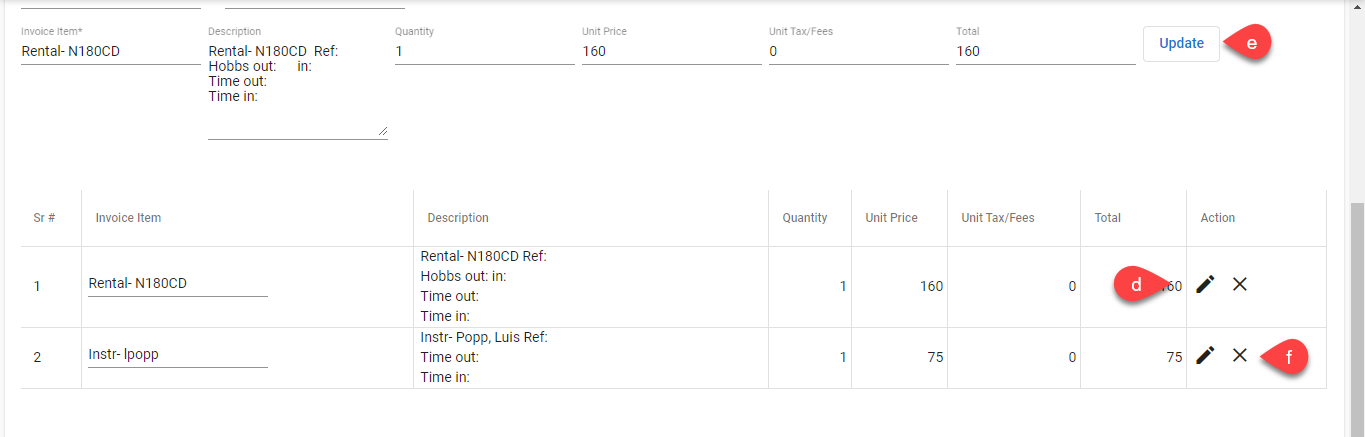
- Repeat step 6 a. And 6 b. to add multiple items to the invoice.
- Click on the Pen icon to edit the selected invoice items.
- Click on the Update button.
- Click on the Cross button to remove the invoice item.
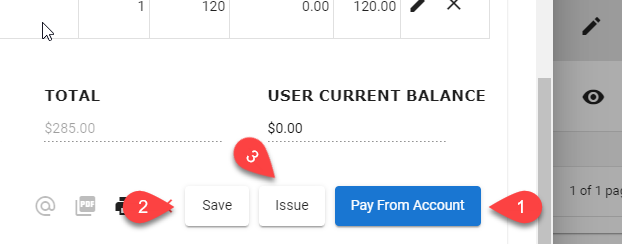
- Click on the Pay from Account button to save, issue and pay from the account at that time[1].
OR
Click on the Save button to save the invoice, invoice can be edited later anytime[2].
OR
Click on the Issue button to save and issue the invoice[3].
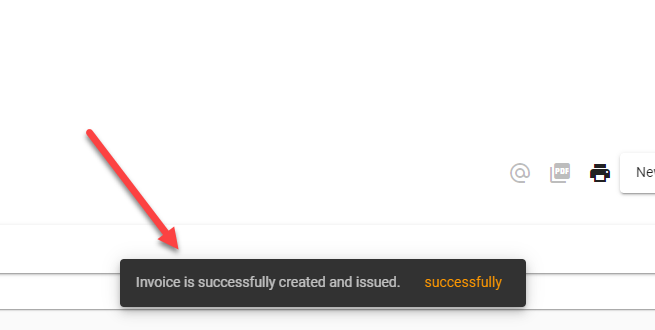
- Successful invoice created message will pop on the bottom center of the screen.
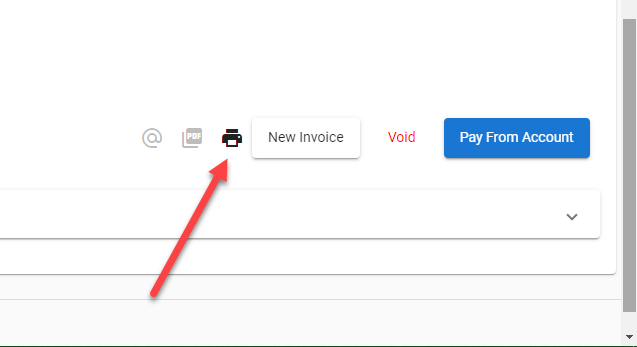
- Click on the Print icon to print the invoice sheet.
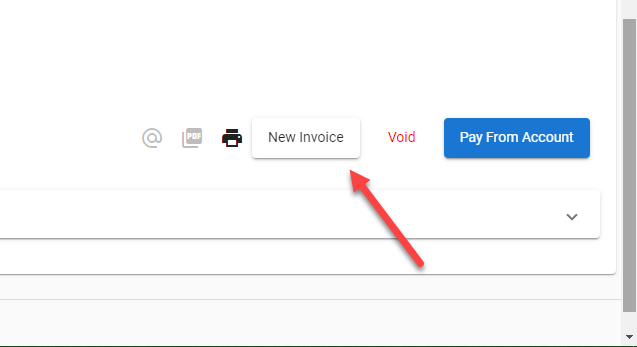
- Click on the New Invoice button to create a new invoice.
Comments
0 comments
Please sign in to leave a comment.